
During the old Blogger platform, changing the default favicon is very easy. You just go to Layout of your Blogspot, then, you can change your favicon there. But, since the new platform arrived, the Configure Favicon option is totally gone for good.
But, the link to configure and change your Blogger favicon is still the same and functioning. And for today's tutorial, I will show you how to easily change your favicon, create or size a favicon on your own. I will also give some free favicon generator for Blogger website.
Update!
✅ You can easily access Configure Favicon by going to Settings > Basic. You will find the link below Google Analytics Property ID.
Here are the steps to be able to change your Blogspot current default Blogger favicon.
Making your Favicon
Requirements:
☑ The size of your favicon should not exceed 100 kb
☑ The favicon should be a square image like 40x40 pixels, etc.
Uploading your favicon into Blogger's Configure Favicon
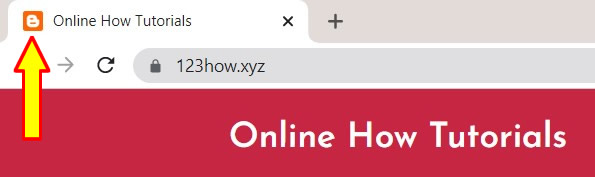
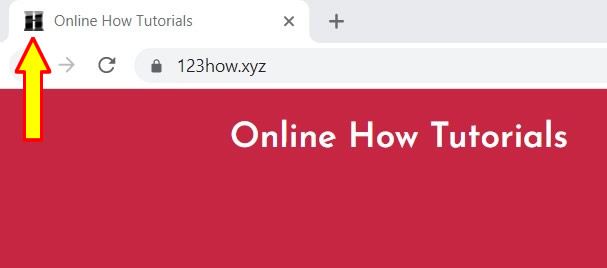
✅ As you can see, the default Blogger favicon of my website 123how.xyz before is seen on the image below. For this tutorial, we will going to change that old favicon.
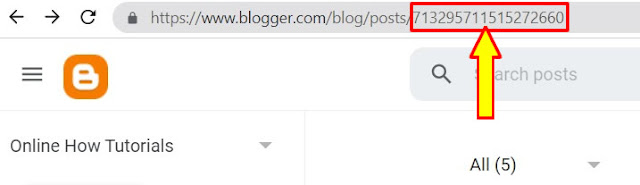
✅ Inside your Blogger, you need to see its URL. You will find there your Blog ID. It is a 17-digit number. Copy that and paste it after the equal sign of the given link below.
https://www.blogger.com/change-favicon.g?blogID=PASTE-HERE-YOUR-BLOG-ID
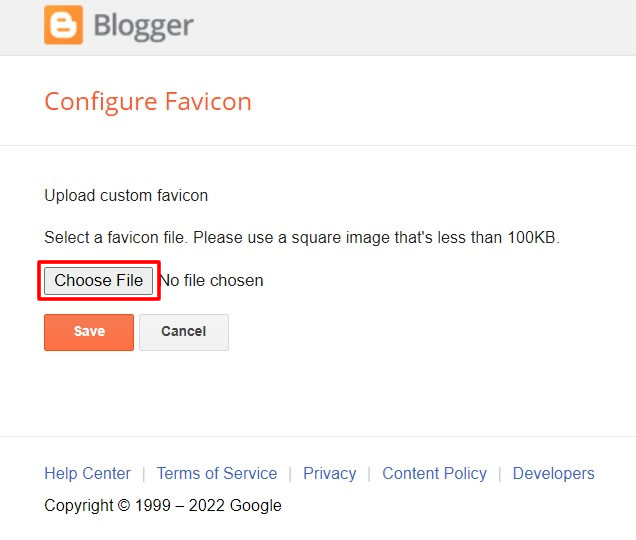
After pasting, press ENTER to go to the Configure Favicon page. Inside, press Choose File.
✅ Now, click the Choose File button and browse for the favicon that you created earlier.
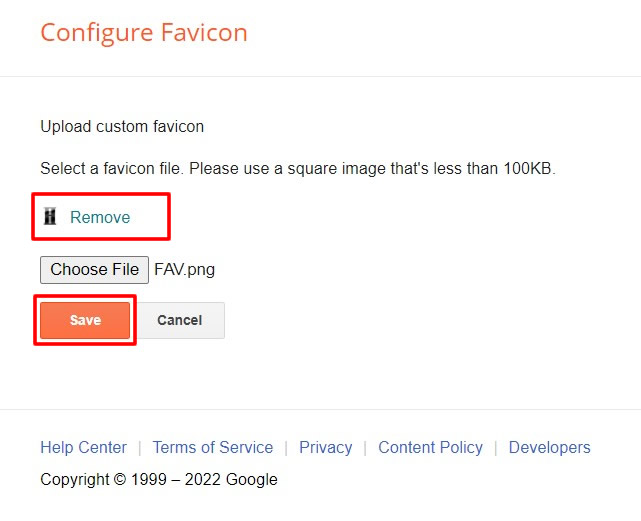
✅ When you already browsed your favicon, press Save to save it and make your default and new Blogger favicon for your Blogspot.
✅ Done! You can now see that my current favicon is the one that we have here on this particular tutorial.
✅ If you have questions, please leave a comment below. Thanks!

0 Comments
Please comment according to the post topic. Any links and off-topic comments will not be published. Thanks!