
This is my first post for my series of articles that I am going to publish regarding installing different CMS or Content Management System locally (via XAMPP) on Windows 11 pc. And for this tutorial, I will be showing you on how to install Backdrop in XAMPP.
What is Backdrop CMS? It is an Open Source CMS written in PHP and licensed under GNU. Backdrop originally came from Drupal and was developed by Nate and Jen Lampton who also created Drupal. It was released last January 15, 2015.
Before you start doing the tutorial below, please have some time to fulfil the given listed requirements first.
Download requirements on how to install Backdrop in XAMPP using Windows 11 pc
- XAMPP, download here [via Mediafire]
- Backdrop 1.23.0 CMS, download here [via Mediafire]
Assuming that you already downloaded XAMPP and Backdrop, continue doing the tutorials below.
Table of Contents
- XAMPP installation on Windows 11
- Running XAMPP Control Panel's Apache and MySQL
- Copying Backdrop installer to HTDOCS folder
- Creating Backdrop Database
- Backdrop CMS installation via Localhost or 127.0.0.1
- Viewing website created via Backdrop CMS
- Accessing Backdrop website ADMIN account
Here are the steps on how to install Backdrop in XAMPP using Windows 11 pc
XAMPP installation on Windows 11
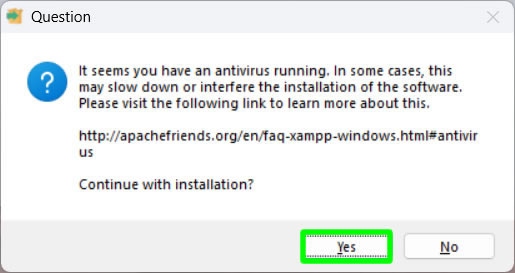
1. After downloading XAMPP using the given link above, open it. For the antivirus related question, just ignore it and press the YES button to proceed.
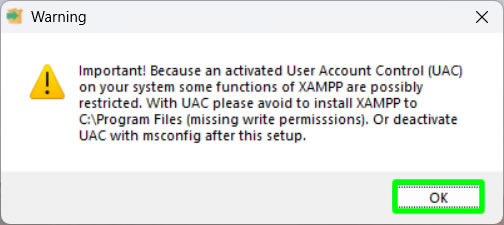
2. On the warning message regarding User Account Control (UAC) just ignore it also and press the OK button to continue.
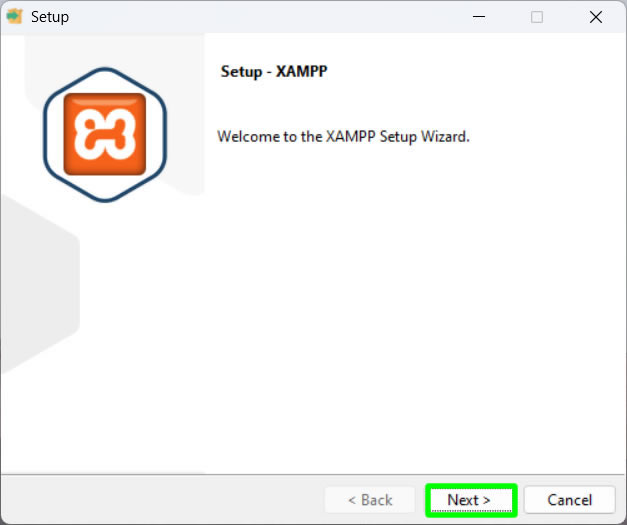
3. In the Setup Wizard for, just click on NEXT.
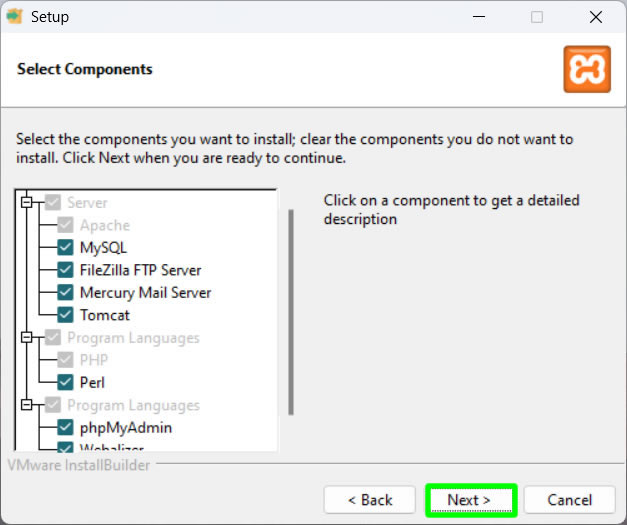
4. In the Select Components, just leave it and press NEXT again.
5. In the Installation folder, leave it also as it is and press the NEXT button.

6. In Language, English is pre-selected, just leave it also. You can also change it to your own local language if you want to. Press the NEXT button to continue.

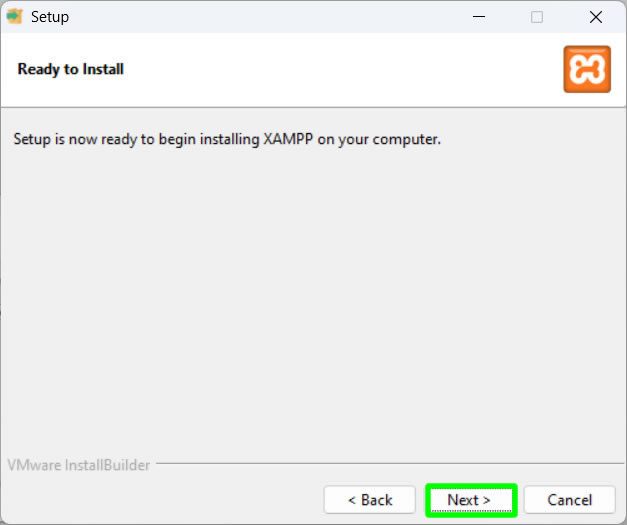
7. Your XAMPP is now ready to install. Press the NEXT button to proceed.
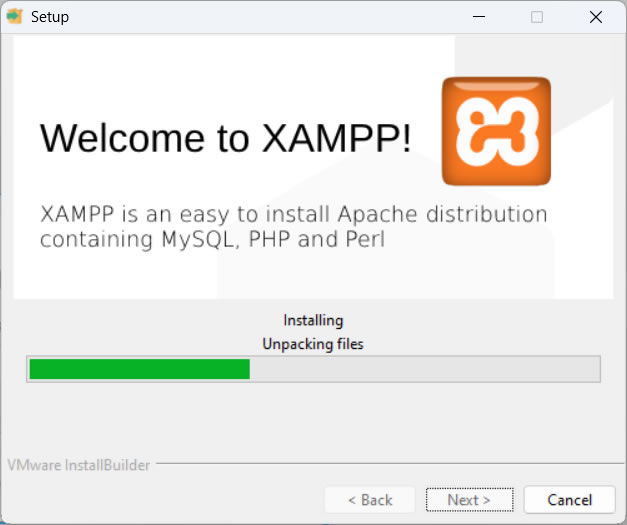
8. Wait for the Installing to finish.
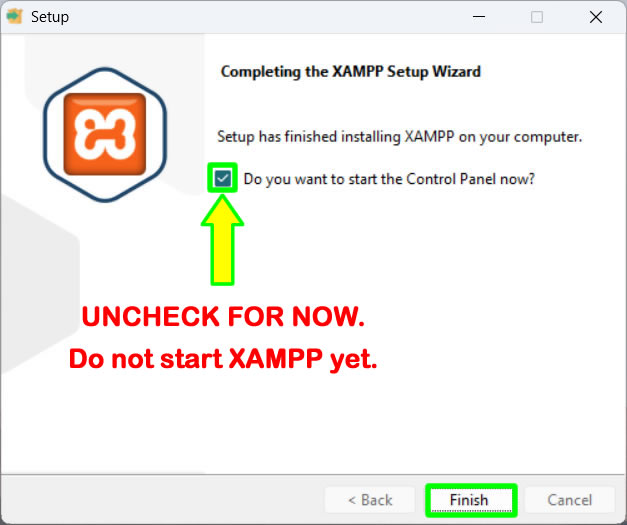
9. When done, uncheck the "Do you want to start the Control Panel now?" and press FINISH to exit.
10. Done! You have successfully installed XAMPP on your pc. Continue to the next tutorial below.
Running XAMPP Control Panel's Apache and MySQL
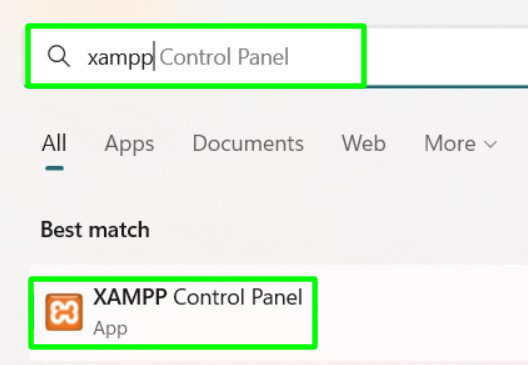
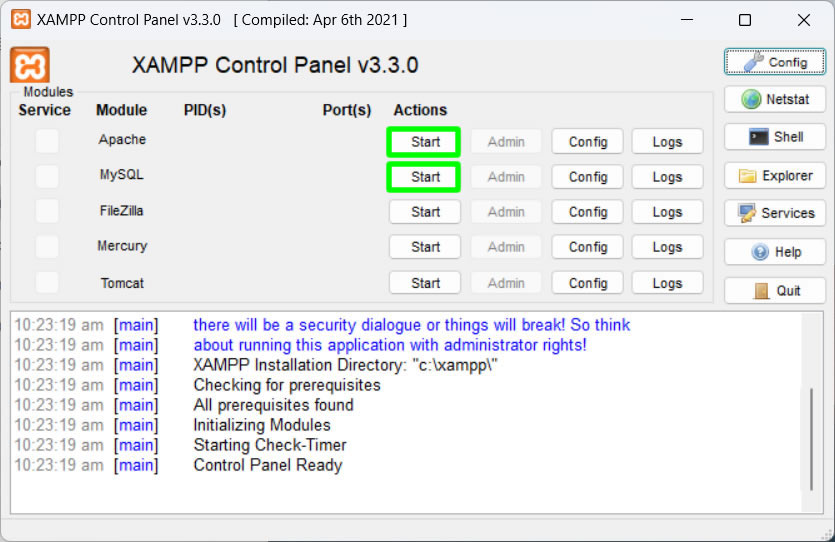
1. Open Start in your pc and search for xampp. Right-click XAMPP Control Panel and click on Run as Administrator.
2. Inside XAMPP, press the two Start buttons for Apache and MySQL.
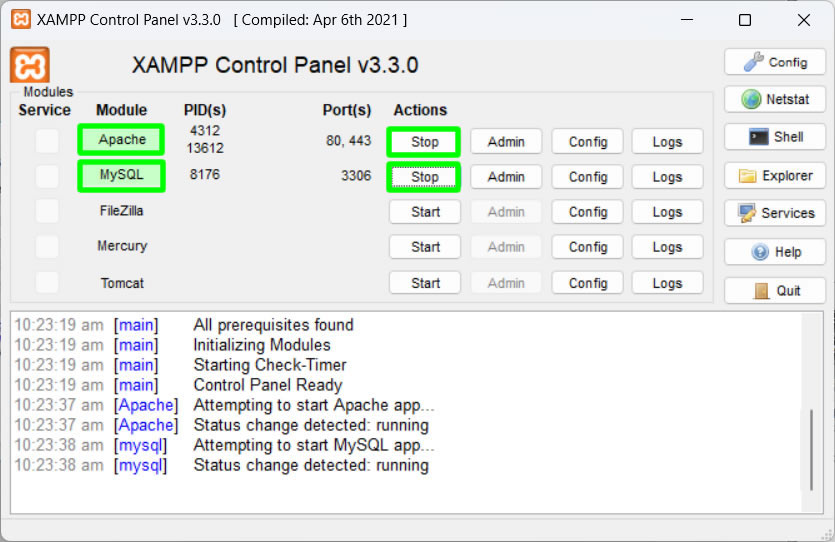
3. To confirm that your Apache and MySQL are running, you will see green-colored background on both. When done, press X to hide the panel to system tray.
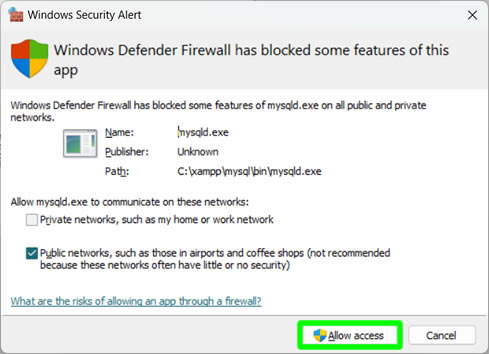
4. If there is a Windows Security Alert produced by Windows Defender Firewall, just click the Allow access button to exit.
5. Done! You just ran XAMPP on your Windows 11 pc and started the Apache and MySQL services. Continue to next tutorial below.
Copying Backdrop installer to HTDOCS folder
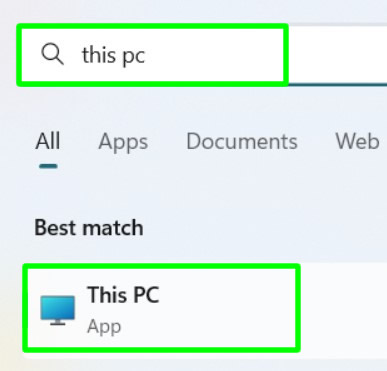
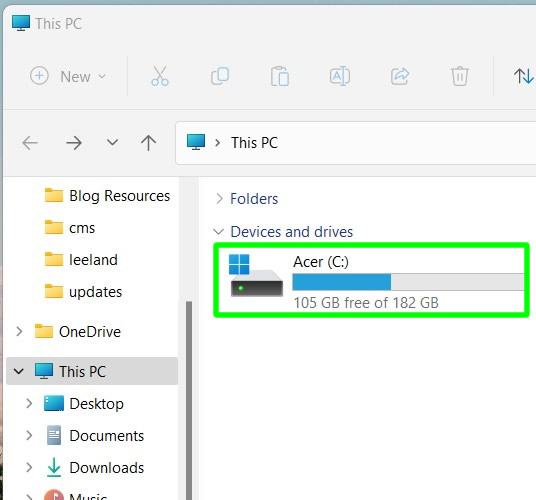
1. Now, after downloading the backdrop.zip file using the given link above, you need to extract the zip file. After extracting, you need to copy the backdrop folder the XAMPP's htdocs folder. First, open Start and search for "this pc". Click This PC to open your Computer drive.
2. Inside This PC, click on your C drive.
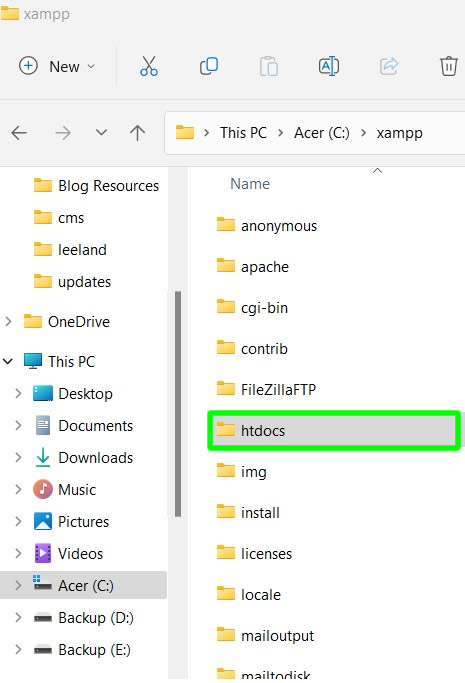
3. Inside c drive, find and click on xampp folder.

4. Inside xampp, click on htdocs folder.
5. Now, paste your backdrop folder inside htdocs.
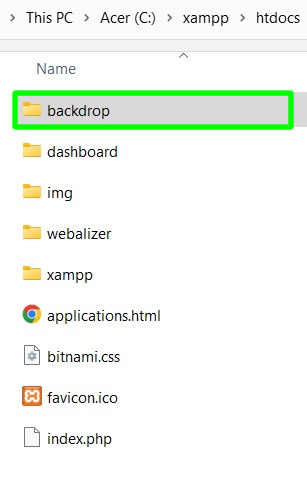
6. Done! You just copied your Backdrop installer folder to the c:\xampp\htdocs directory. Continue to the next tutorial.
Creating Backdrop Database
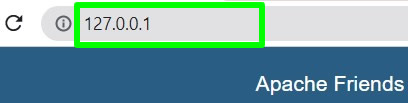
1. We are now going to create the database needed for the installation of your Backdrop website. Open your internet browser. For this tutorial, I am using Chrome. In the address bar type 127.0.0.1 or localhost (any of the two will do) and press ENTER. After entering you will see that the link has /dashboard now. Just ignore it.
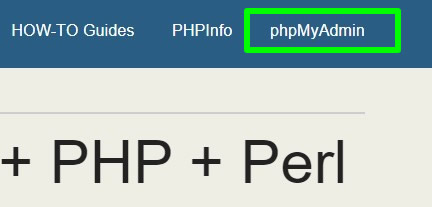
2. Find and press phpMyAdmin.
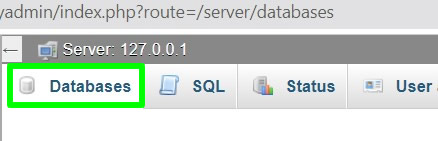
3. Inside phpMyAdmin, click Databases tab.
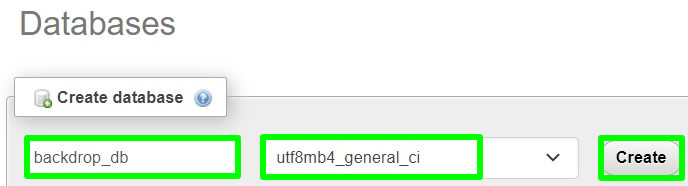
4. Under Databases, in Create database, name your database. You can name it anything that you want. For this tutorial, I named it backdrop_db. Next to it make sure it is set to utf8mb4_general_ci. Press the Create button to create your database.
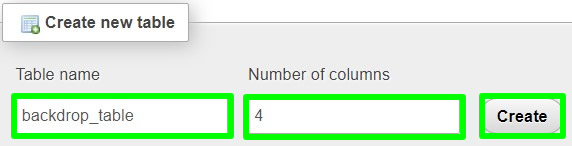
5. In the Create new table, under Table name, name your database table. You can also name it anything that you want. I named it backdrop_table. For number of columns leave it as 4. Press the Create button to create your database table.
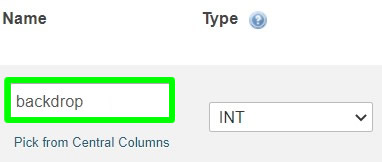
7. For the Structure, under Name, name it anything you want also. I just named it backdrop. For type, INT is already selected.
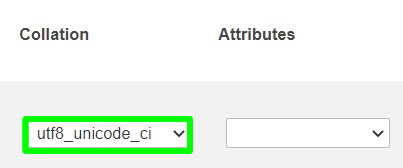
6. For Collation, select utf8_unicode_ci. Leave the other fields blank.
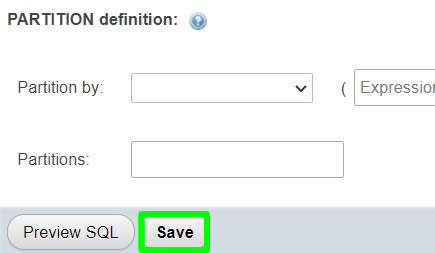
8. Save your work
9. And you just created the needed database for your Backdrop CMS installation. Continue to the next tutorial below.
Backdrop CMS installation via Localhost or 127.0.0.1
1. And here is the moment of truth. We are now going to install our Backdrop CMS website in the localhost. Open a new tab in your internet browser. Type 127.0.0.1/backdrop or localhost/backdrop and press ENTER. (backdrop is the name of the folder you copied inside the htdocs folder earlier. Make sure, you also named it the same, if not, use your folder name instead of /backdrop)

2. Now, inside Choose language, select the language you want for your Backdrop website. English is also pre-selected. Press the Save and Continue button to proceed.

3. In the Database configuration, under MySQL Database name, use the name of the database that you created earlier. For mine, I named it backdrop_db earlier. For Database username, use root. Password is blank/no password. Press Save and Continue to proceed with the installation.

4. Backdrop CMS is now installing. Just wait for it finish.

5. After installation, you need to configure your site now. Under Site name, name your website anything you want. For Username, you can type admin or anything else. Type your email address and password. Do not forget the username and password here because you will be needing it to login your admin account later.
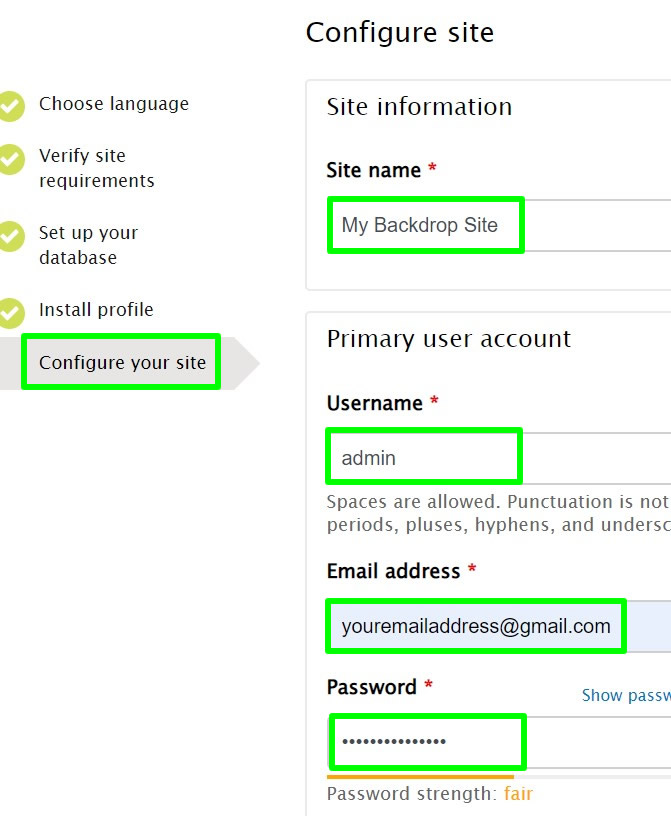
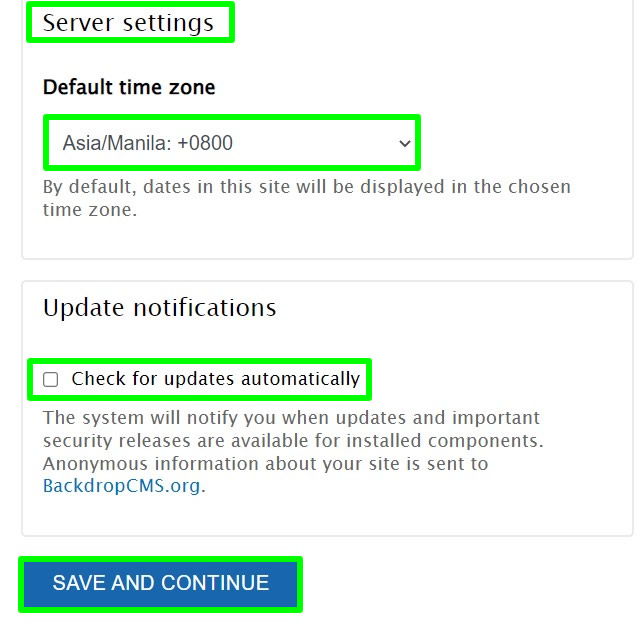
6. In Server settings, leave them. Just uncheck the automatic updates if you want to disable updates, since this is only a local installation. Press the Save and Continue button to proceed.
Viewing website created via Backdrop CMS
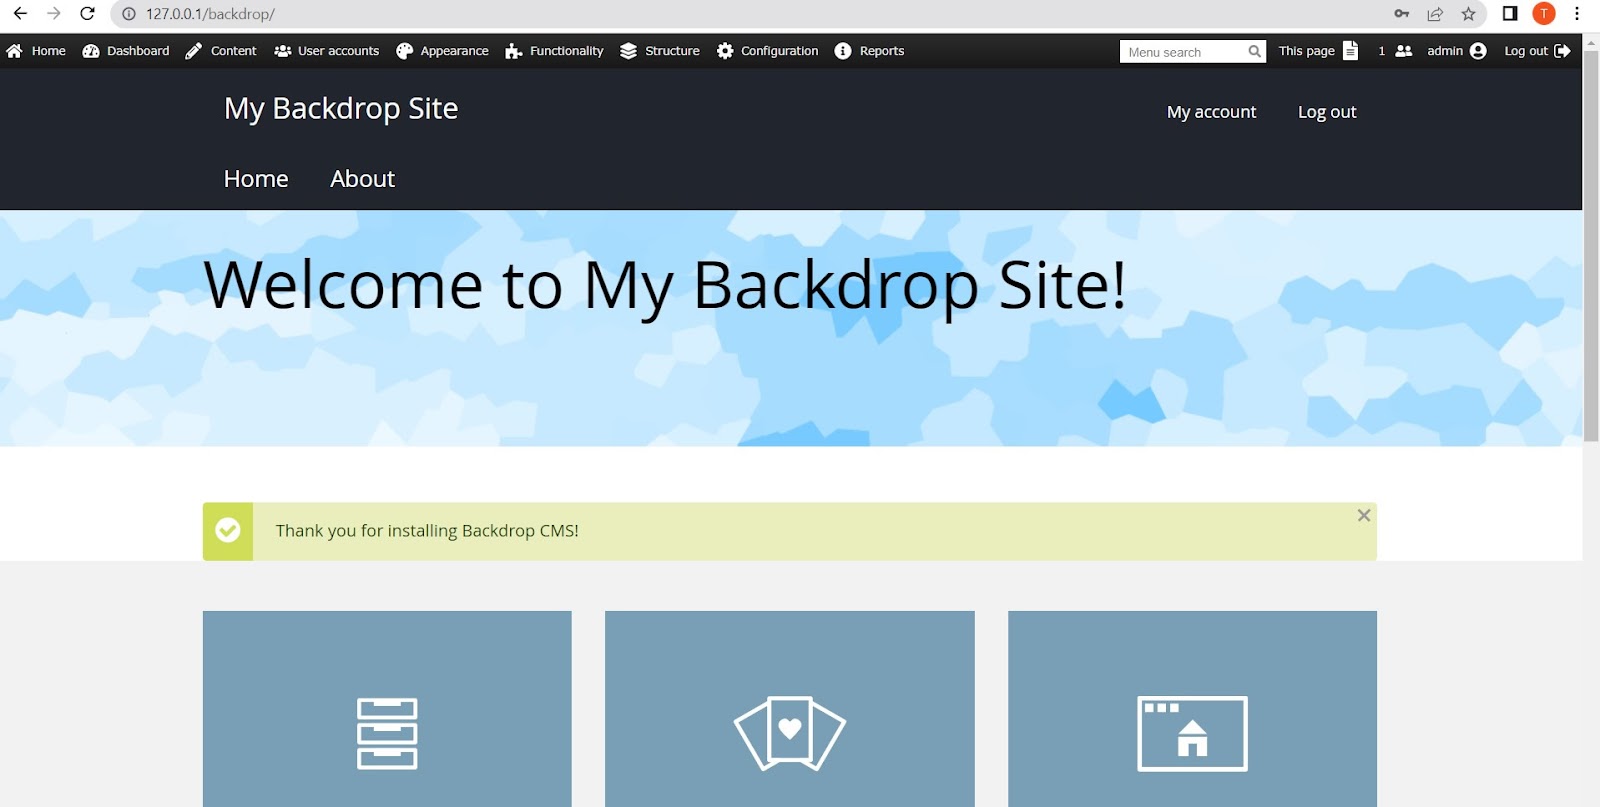
1. Now, to view your Backdrop website, open your internet browser again and type 127.0.0.1/backdrop or localhost/backdrop. See sample image below of a website created using Backdrop CMS.
Accessing Backdrop website ADMIN account
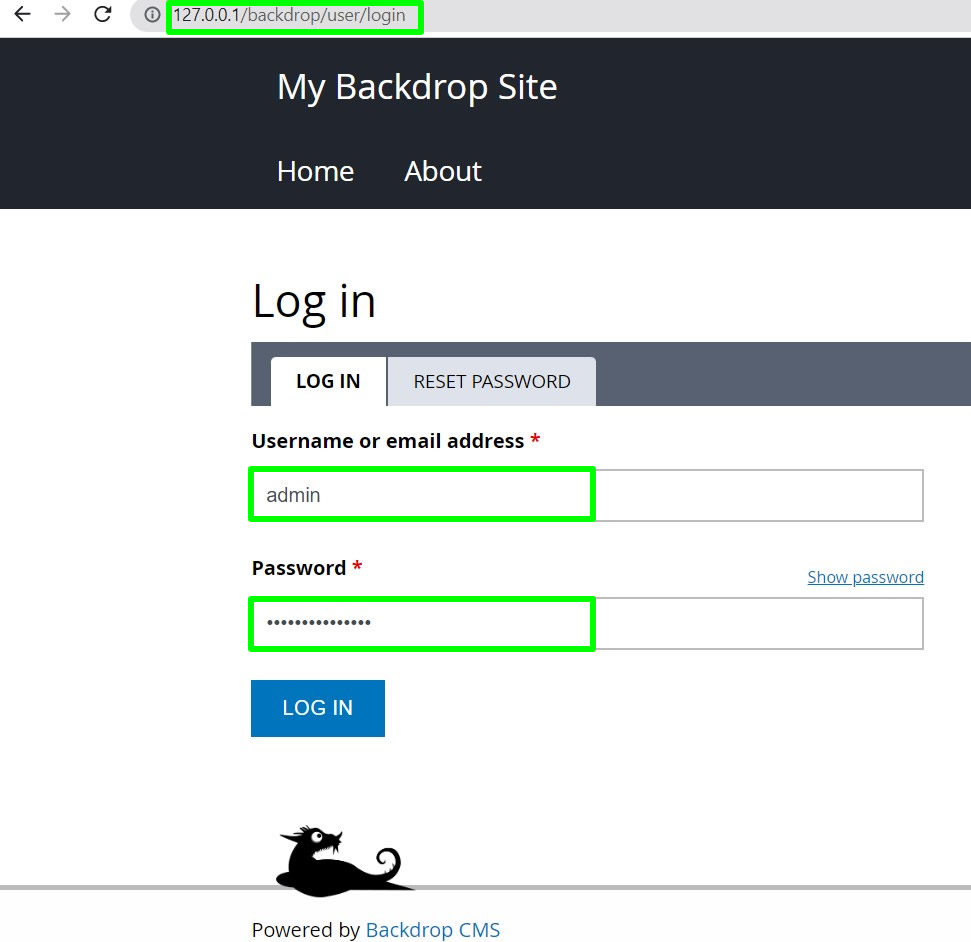
1. Now, to be able to login your admin account. Just type 127.0.0.1/backdrop/user/login or localhost/backdrop/user/login and press Login or ENTER. For username and password, just type what you entered during the Site Configuration steps that you have done above.
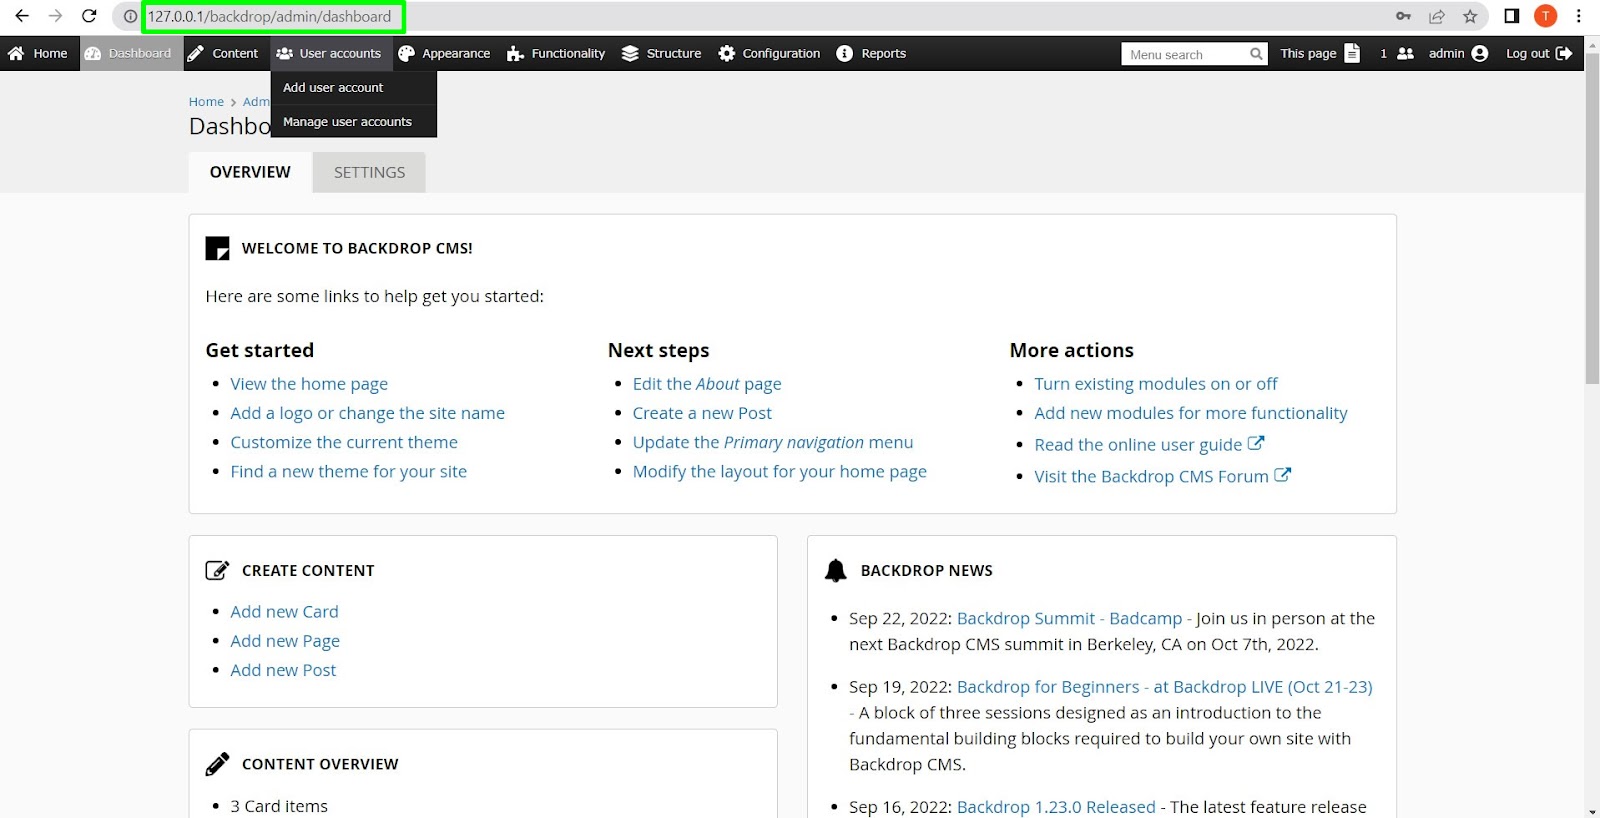
2. Here is the sample admin dashboard of your Backdrop website. Here, you can add and do anything from creating articles, adding modules, modifying templates, etc.
And you just successfully created a website using the Backdrop CMS locally in your pc. You can start posting articles and editing your website now. And when done, you can upload your website online on a free web hosting if you want to try it first for free. And then, consider uploading the website in a paid web hosting service with cPanel.
If you have question, leave a comment below. Cheers!
Important notes:
- Always open XAMPP and start MySQL and Apache before opening your Backdrop website
- Do not forget your admin username and password. You write it on a piece of paper or Notepad

0 Comments
Please comment according to the post topic. Any links and off-topic comments will not be published. Thanks!