
Having a spare and portable Windows installation media today is always a plus even you are just a normal pc user or a computer technician. You never know, when suddenly you need to reformat your pc because it won't load or boot up. When your computer is also slowing down, then, maybe you need to reformat it also using your Windows 11 or any available edition of Windows bootable USB media.
There are many ways to create a Windows bootable installation media via USB. You can manually copy and paste the IMG or ISO file to the USB. You can also use Command Prompt, and lastly you can use free and open-source portable application that can be used to format and create bootable USB flash drives like Rufus. And for this post, I will use Rufus to create Windows 11 bootable USB. Why Rufus? It is because this program is automatic, very fast and clean. You just open Rufus and browse your ISO file then click Start to begin making your installation media, and done!
Requirements
- Rufus [download here]
- Windows 11 ISO file 64-bit [See tutorial in how to download the iso file here]
- USB flash drive at least 16GB.
- If your USB drive has important files in it, make a backup first because it will be formatted later.
- medium to fast and stable internet connection
Assuming you have all the requirements above, then proceed to the steps below.
Here are the steps to create Windows 11 bootable USB using Rufus
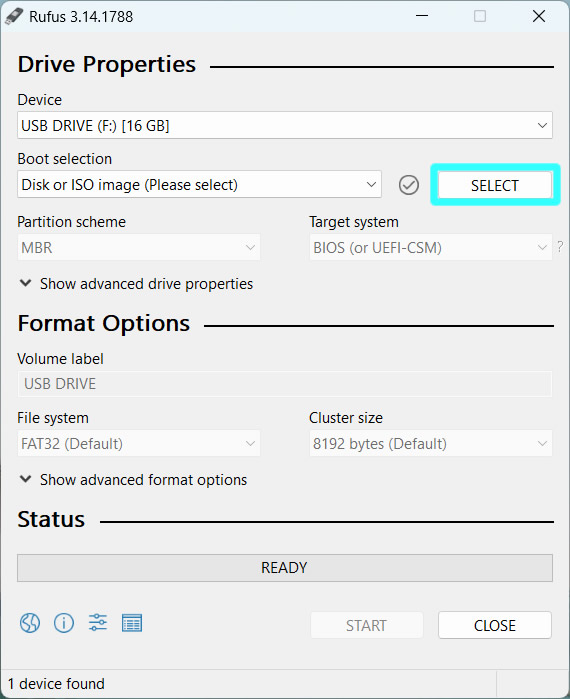
1. Open Rufus. Press the Select button to browse for the Windows 11 iso file that you downloaded earlier.
2. Browse your ISO file, select it and press OPEN button to proceed.

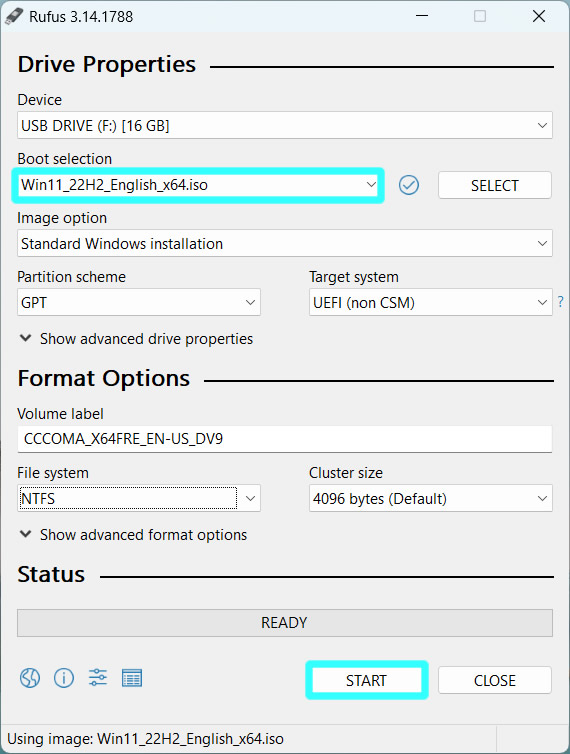
3. You will now see under Boot selection that the ISO file is ready to go. For the Device, your USB flash drive will be automatically selected as long as it is the only USB device that is currently connected in your pc. If there is another one, then, select the USB that you are going to use as the bootable media. For Image Option, Partition scheme, Target system, Volume label, File system and Cluster size, you do not need to alter their value. Rufus will automatically select what is the best and compatible configuration for your pc. Just leave them alone. See the Status, if it says READY, then, press the Start button to start making your Windows 11 bootable USB media.
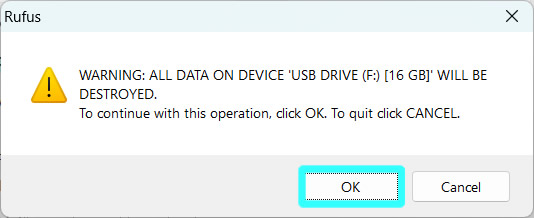
4. A warning message regarding the data contents of your USB drive will be erased or destroyed. Just press the OK button to confirm.
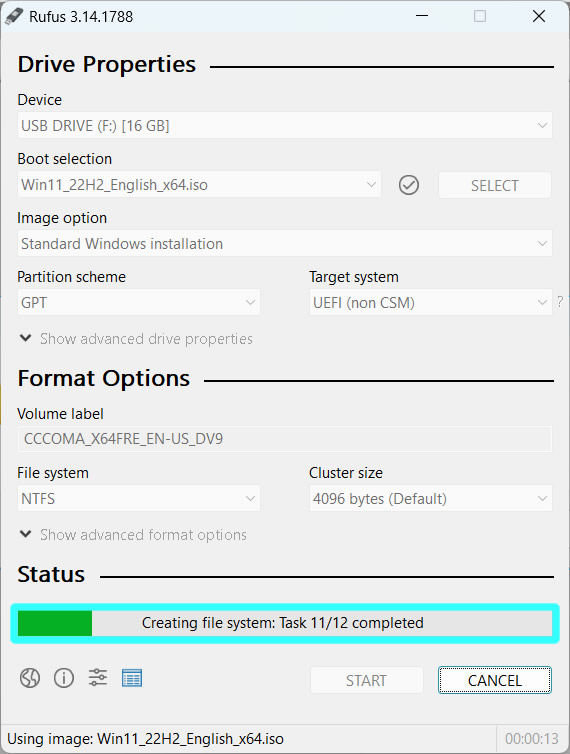
5. Rufus will then start the process of creating the file system into your USB drive. Just wait for some time before it finishes.
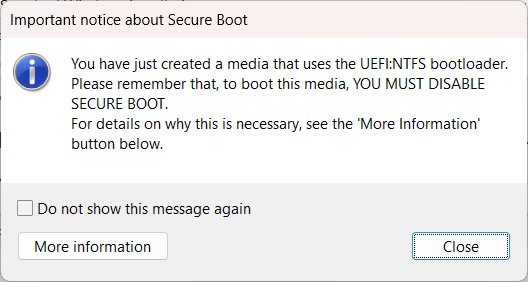
6. When done, and if you see the same warning message as shown below saying "You have just created a media that uses the UEFI:NTFS bootloader. Please remember that, to boot this media, YOU MUST DISABLE SECURE BOOT." , then you only need to remember it for now. Just click the Close button to exit the message. And another Close for the Rufus.
7. Done! You have successfully created your Windows 11 bootable USB using Rufus. If you have a computer that needs to be formatted, then, try it now. After installation, if you need to activate your Windows 11, just search on Google for KMS Tool activator. It is free and easy to use also.
If you have a question, just leave a comment below. Thanks!

0 Comments
Please comment according to the post topic. Any links and off-topic comments will not be published. Thanks!