CMSMS or CMS Made Simple is another free content management system that you can use to create a website. For this tutorial, we are going to install it an web hosting, also for free. If you want to just install it locally using XAMPP's localhost, then, you can do this tutorial instead. To start, you need to download the needed files below for the installation.
Requirements:
- cmsms-2.2.16-install.expanded, [download here]
- unzipper.php [download here]
After downloading the files, continue doing the tutorials below.
Table of Contents
- Registering for a Free Web Hosting Account with Cpanel
- Creating a free domain or subdomain in our Web Hosting Account
- Uploading CMS Made Simple and unzipper.php files using Web Host File Manager
- Extracting the CMS Made Simple zip file using unzipper.php
- Creating needed database needed for CMS Made Simple installation
- Installation of CMS Made Simple manually
- Accessing CMS Made Simple website homepage
- Accessing CMS Made Simple website admin account
Here are the steps on how to install CMS Made Simple manually in a web hosting account free
Registering for a Free Web Hosting Account with Cpanel
1. Go to infinityfree.net website.

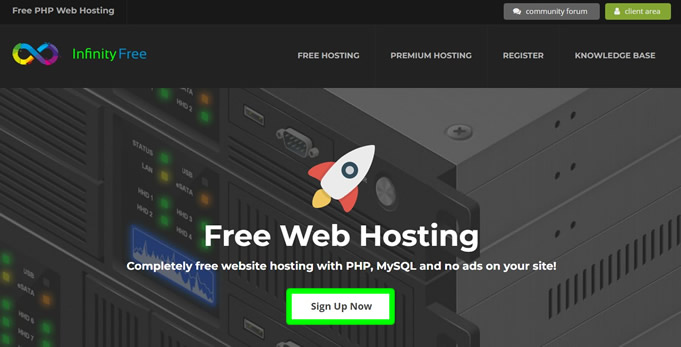
2. Click the Sign Up Now button to proceed.
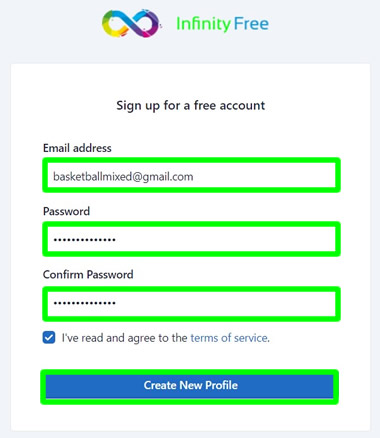
3. In the "Sign up for a free account" do the following: Email address - enter a valid email. Password - your desired account password (do not forget it). Check the "I've read and agree..." and press Create New Profile when done.
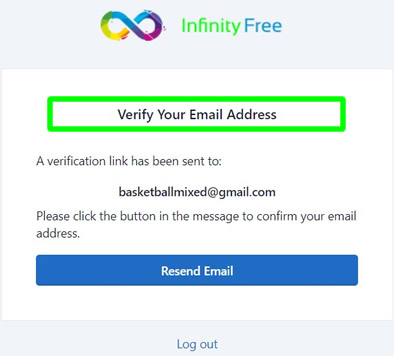
4. You now need to verify your registration.
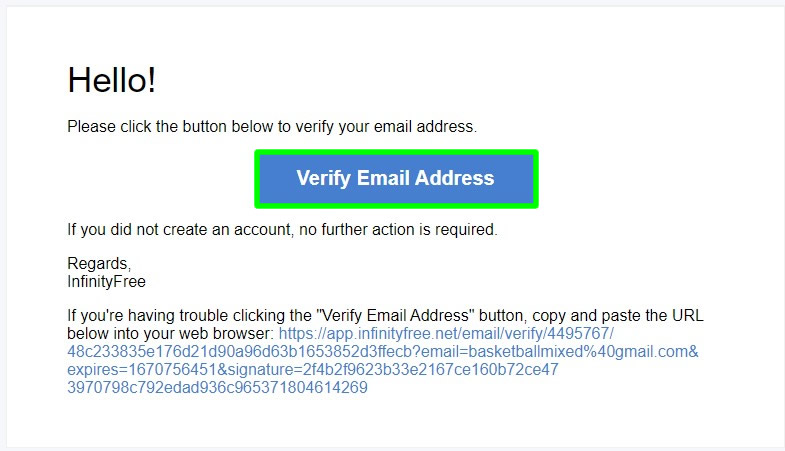
5. Open your email account and find the email sent by InfinityFree. Click the verify button to proceed.
6. After verifying, you're free web hosting account is now up and going. Proceed to the next tutorial below.

Creating a free domain or subdomain in our Web Hosting Account
1. We are now going to create an account. This will contain a free subdomain that we will be using later to install our CMS Made Simple website. To start, click "+Create Account" buton.

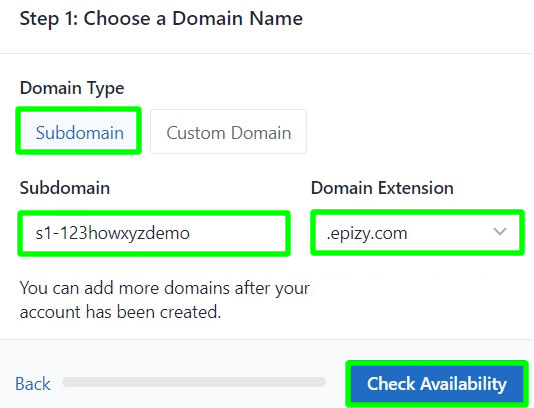
2. In the "Choose a Domain Name" do the following: Domain Type - subdomain. Subdomain - name your subdomain. Domain Extension - just select from the list. When done, click Check Availability button to proceed.
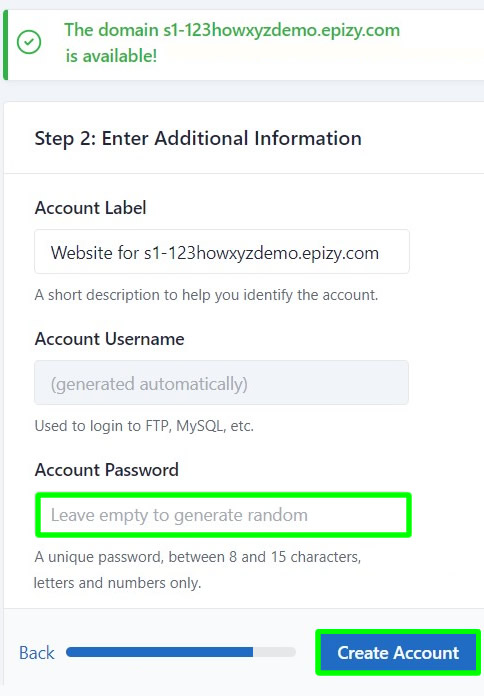
3. Under "Enter Additional Information" do the following: Account Password - you can type your desired password or just leave it empty. When done, click Create Account to continue.
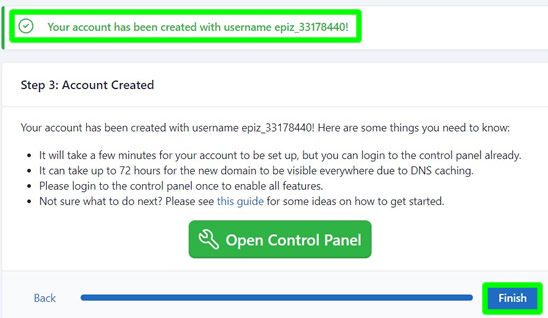
4. You just created your free web hosting account. Click Finish to proceed.
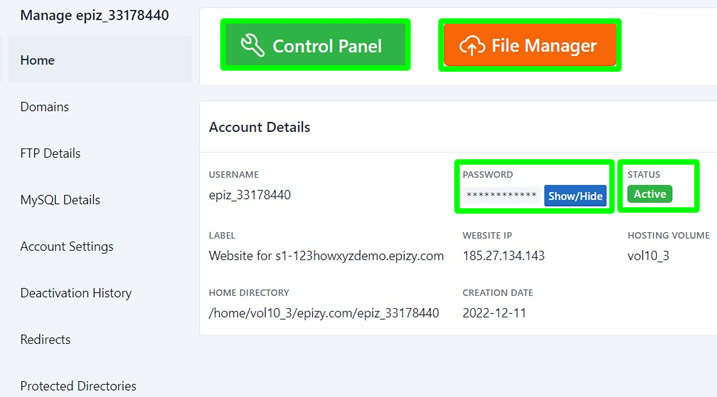
5. Inside your account Manage page, you will see there that the File Manager (is currently disabled) and your Account's Status is still in "Pending Creation".
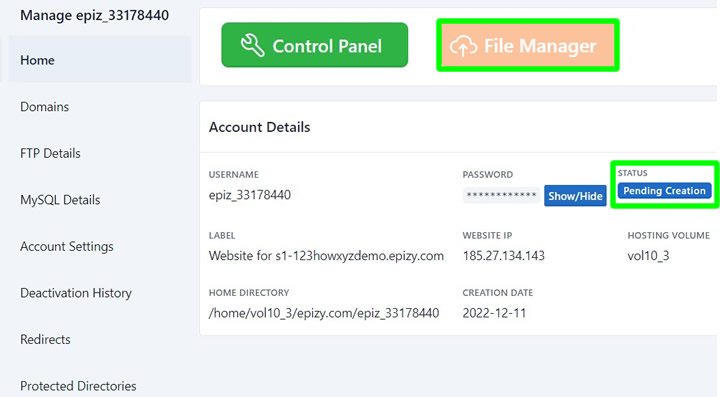
6. Just wait for 2 to 5 minutes and it will be activated automatically. Assuming that your account is already up, you will see that your File Manager is also enabled now. The Status is now changed to Active.
Uploading CMS Made Simple and unzipper.php files using Web Host File Manager
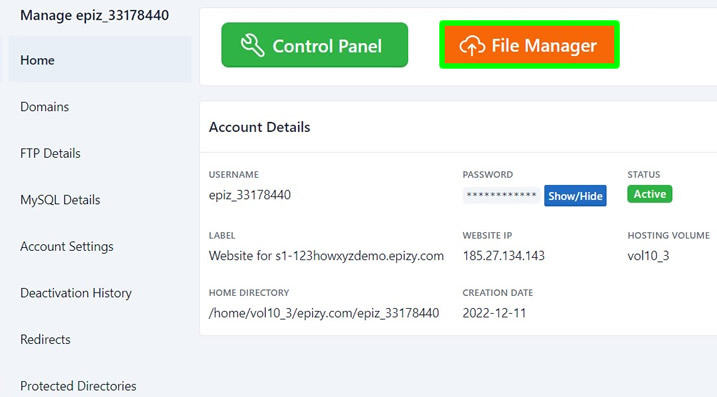
1. We are now going to upload the CMSMS zip file and the unzipper.php file inside our htdocs folder using our File Manager. To start, click File Manager.
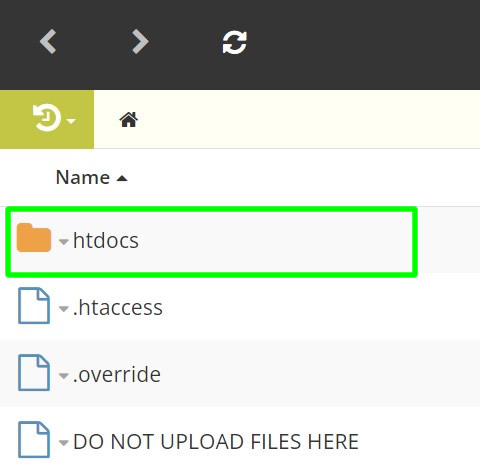
2. Inside File Manager, click the htdocs folder.
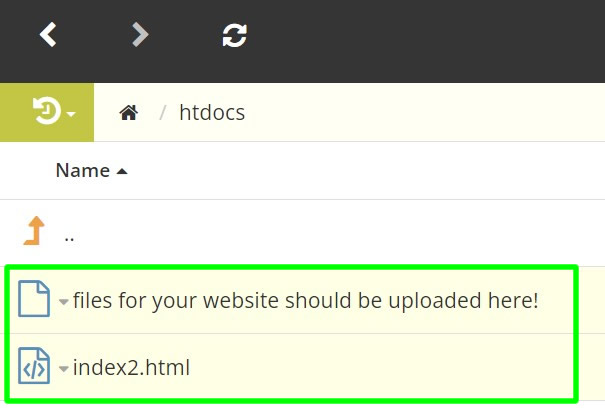
3. Inside htdocs folder, delete all its default contents.
4. Now, click the Upload button and then click Upload Zip... option.

5. Browse for the CMSMS zip file and click Just Upload button.

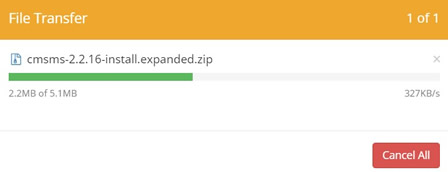
6. Wait for the uploading to finish.
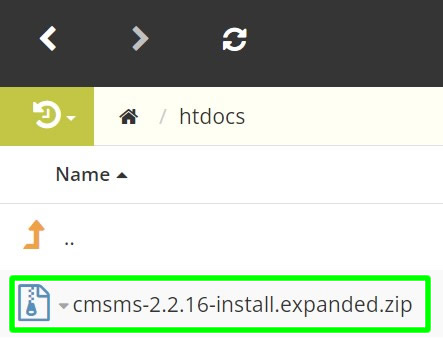
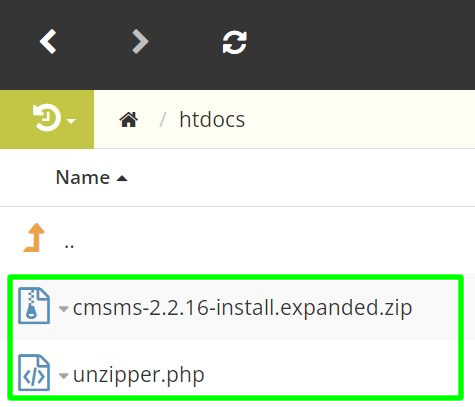
7. When done, you will see the cmsms zip file is now inside your htdocs folder.
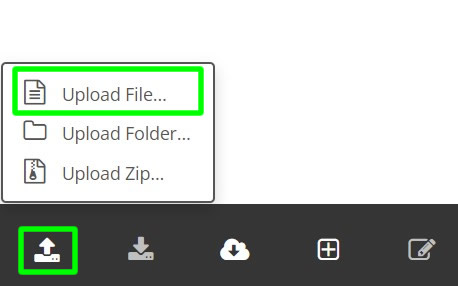
8. Click Upload again and then click Upload file.
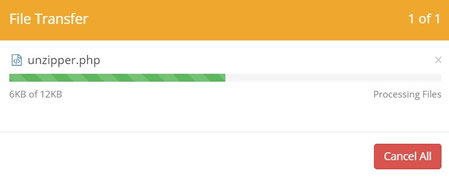
9. Upload the unzipper.php file.
10. When done, you now have 2 files inside your htdocs. The cmsms zip and unzipper.php files.
Extracting the CMS Made Simple zip file using unzipper.php
1. We are now going to extract our cmsms zip file contents inside htdocs. Go to Accounts.

2. Under Your Accounts, you will see there your official subdomain link, copy it.
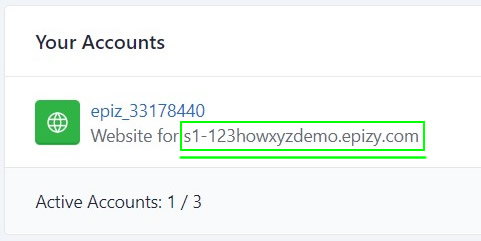
3. Paste your subdomain link in your browser address bar and add /unzipper.php after it. (See image below). When done, press ENTER to open the Unzipper.

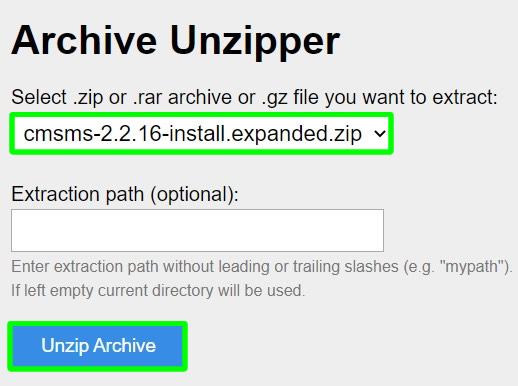
4. Under Archive Unzipper, make sure cmsms zip file is selected. When done, click the Unzip Archive button to start the extraction.
5. Wait for the extraction to finish.

6. When done, go back to your htdocs folder and click the Refresh button.
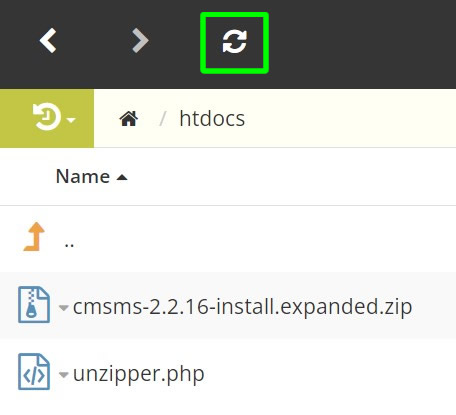
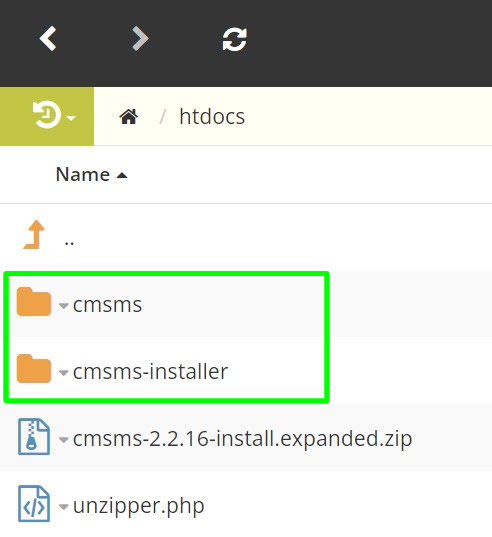
7. You now have there 2 new folders named cmsms and cmsms-installer.
Creating needed database needed for CMS Made Simple installation
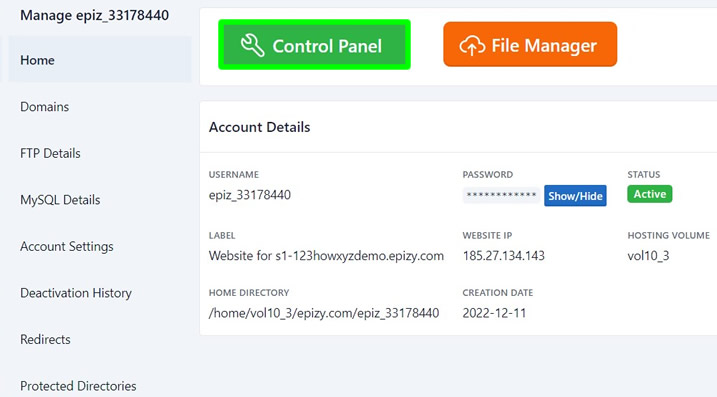
1. Back to your account, click Control Panel.
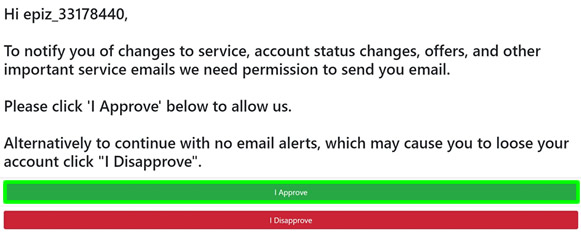
2. If the image below appears, just click the "I Approve" button to proceed.
3. Find the DATABASES section and click MySQL Databases.

4. Under Create New Database, just name your database. When done, press Create Database button to continue.
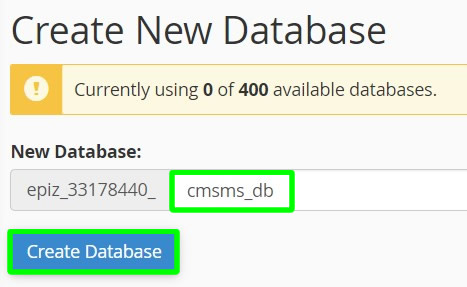
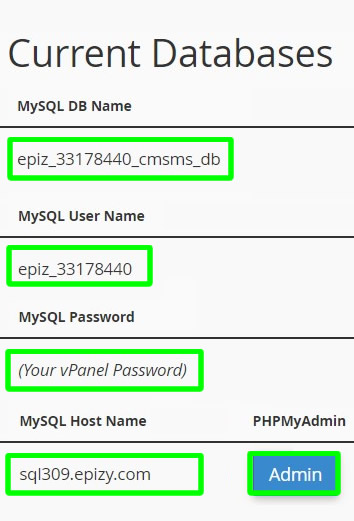
5. You just created a database. We will be using this later during CMS Made Simple installation. For now, click the Admin button to proceed.
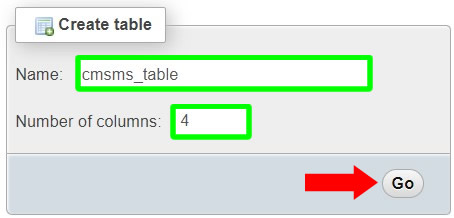
6. In the Create table, just name your database table and set columns to 4. When done, press GO to continue.
7. For table structure, just name it also and set Type to INT.

8. For Collation, set it to utf8_unicode_ci and leave all the fields untouched.

9. For Collation (near Table comments), set it to utf8_unicode_ci.

10. Save your database.

11. Now, click the "Database: epiz_xxxxxxxx_cmsms_db" (see image below) to proceed.
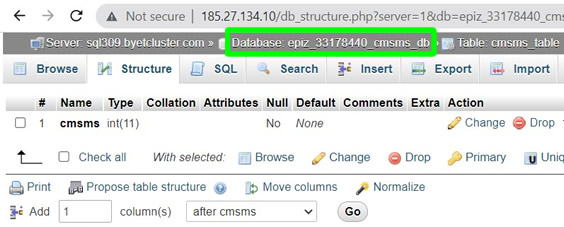
12. Then click Operations.
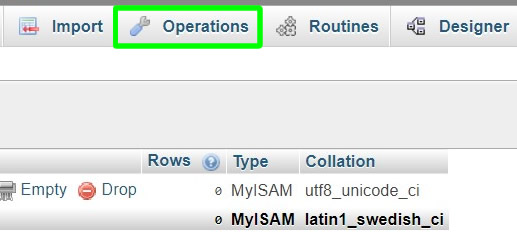
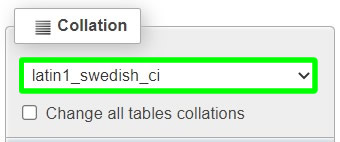
13. Find Collation which is near the bottom of the page. You will see there that Collation is set to latin1_swedish_ci.
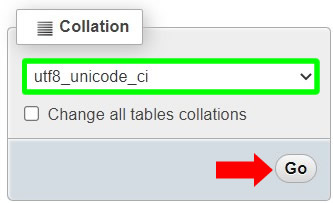
14. Change Collation to utf8_unicode_ci and press Go to proceed. After pressing Go, you will notice like nothing happened. As long as you pressed Go, just proceed to the next step below.
15. Click "Database: epiz_xxxxxxxx_cmsms_db" again to proceed.

16. And your database collation is now correct and all are set to utf8_unicode_ci.

Installation of CMS Made Simple manually
1. We are now ready to manually install CMS Made Simple in our free web hosting. To start, copy your official subdomain link again and paste it in your web browser address bar. Add /cmsms-installer next to your subdomain link (see image below) and press ENTER to fire the installation page.

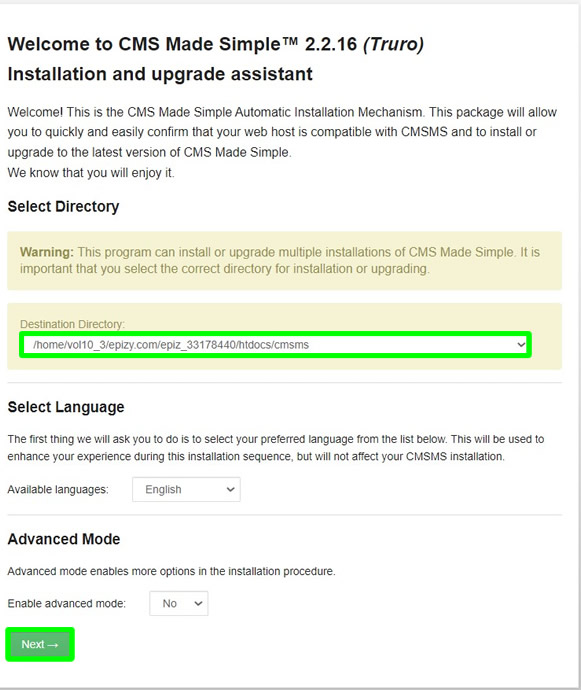
2. Under CMS Made Simple installation welcome page, do the following: Destination Directory - select /your/path/htdocs/cmsms. For Language, select English and for Enable advanced mode, select No. When done, press NEXT to proceed.
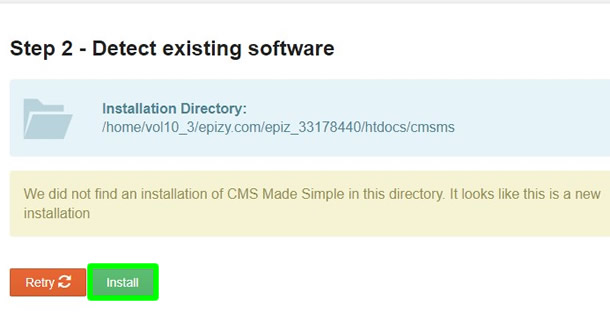
3. Under "Detect existing software" just press Install to proceed.
4. In Tests, just press NEXT again to proceed.

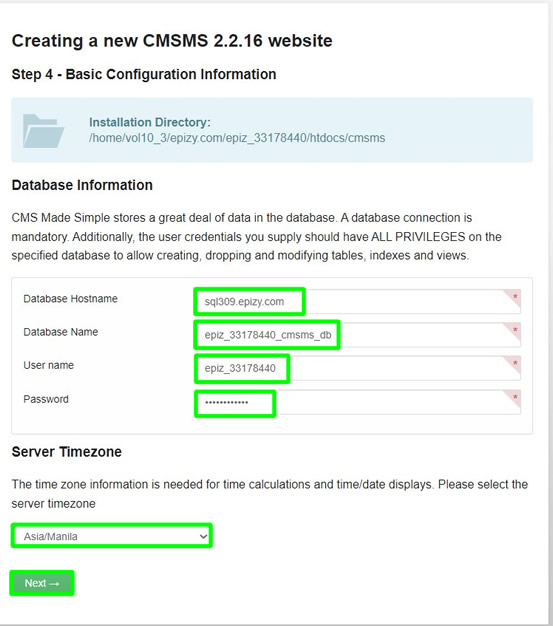
5. For Database Information, do the following; (You can find all the needed details here inside your MySQL Databases page). Database Hostname - sql309.epizy.com. Database Name - epiz_33178440_cmsms_db. User name - epiz_33178440. Password - your account password (if you leave it empty during creation of your account, then, you can find your random password in your Manage page). For Time zone, just select your country's time zone. When done, press NEXT to continue.
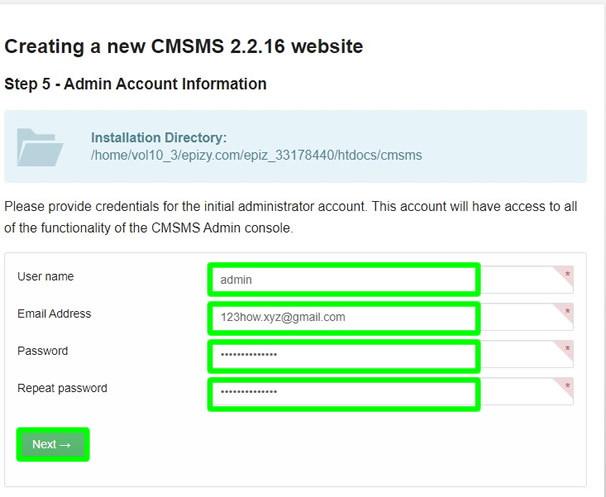
6. For Admin Account Information, do the following: User name - admin. Email address - enter a valid email address. Password - your amin account password (do not forget it). When done, press NEXT to continue.
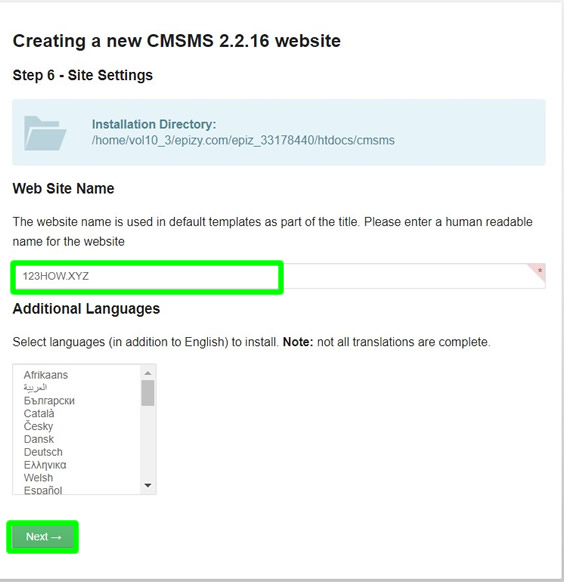
7. Under Site Settings, just give your website a name. Press NEXT to proceed.
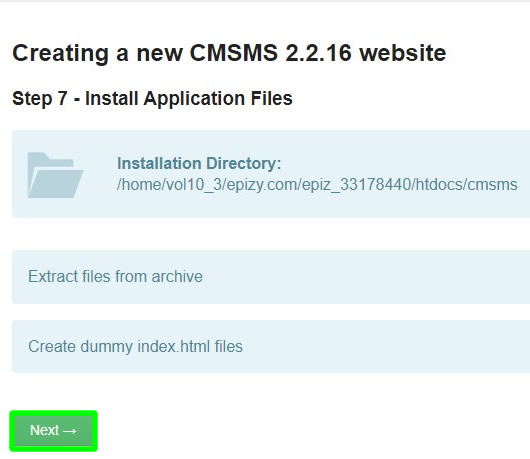
8. Click NEXT in Install Application Files.
9. Also click NEXT in Database Work.
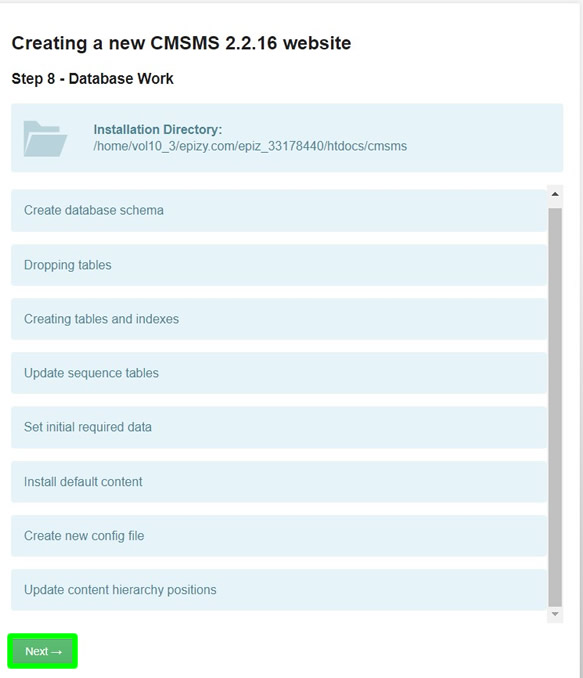
10. Done! You just installed and created a website using CMS Made Simple.
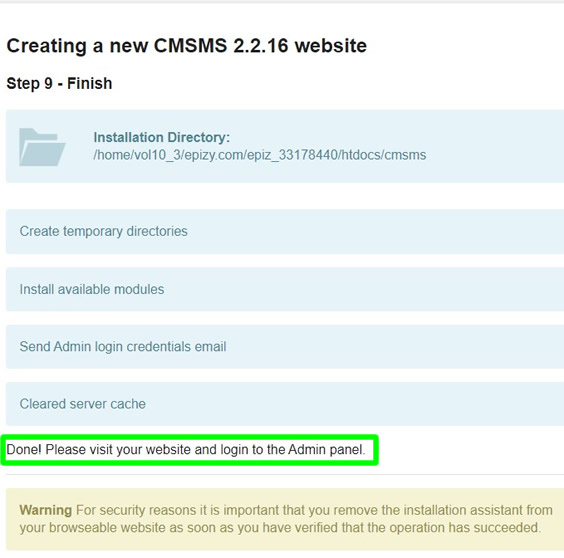
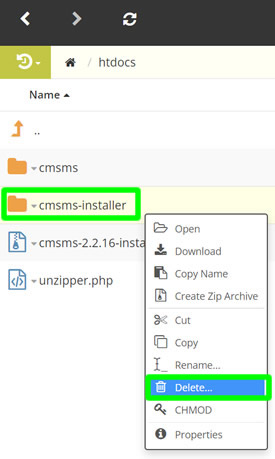
11. For security reasons, you need to delete the cmsms-installer folder inside your htdocs folder.

12. Just delete the cmsms-installer folder.
Accessing CMS Made Simple website homepage
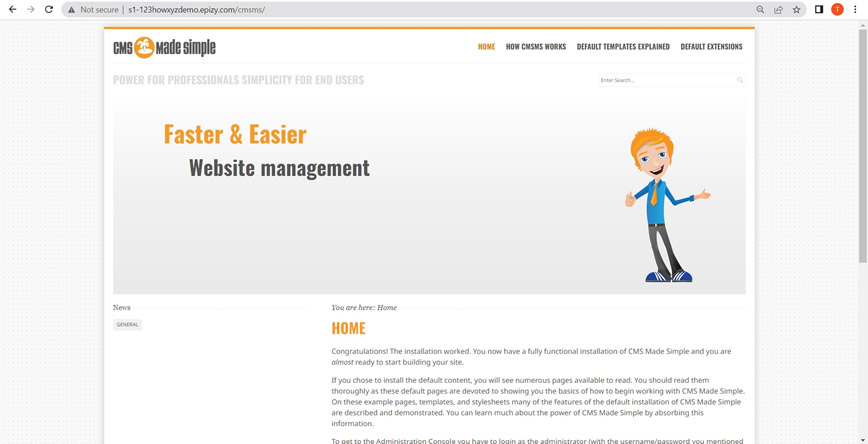
1. To access your CMS Made Simple website homepage, just go to you website link and add /cmsms after it.
Accessing CMS Made Simple website admin account
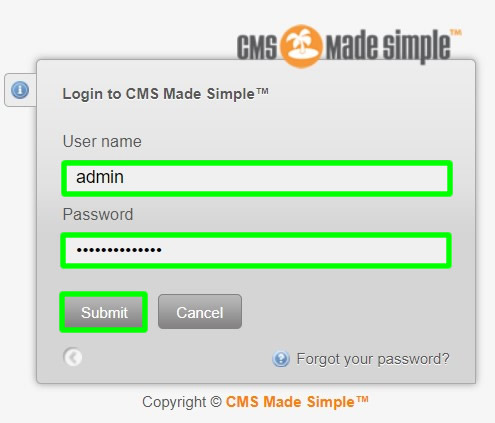
1. To access your admin login page, just go to your official website link and just add /cmsms/admin after it.

2. Login your admin username and password and press Submit to proceed.
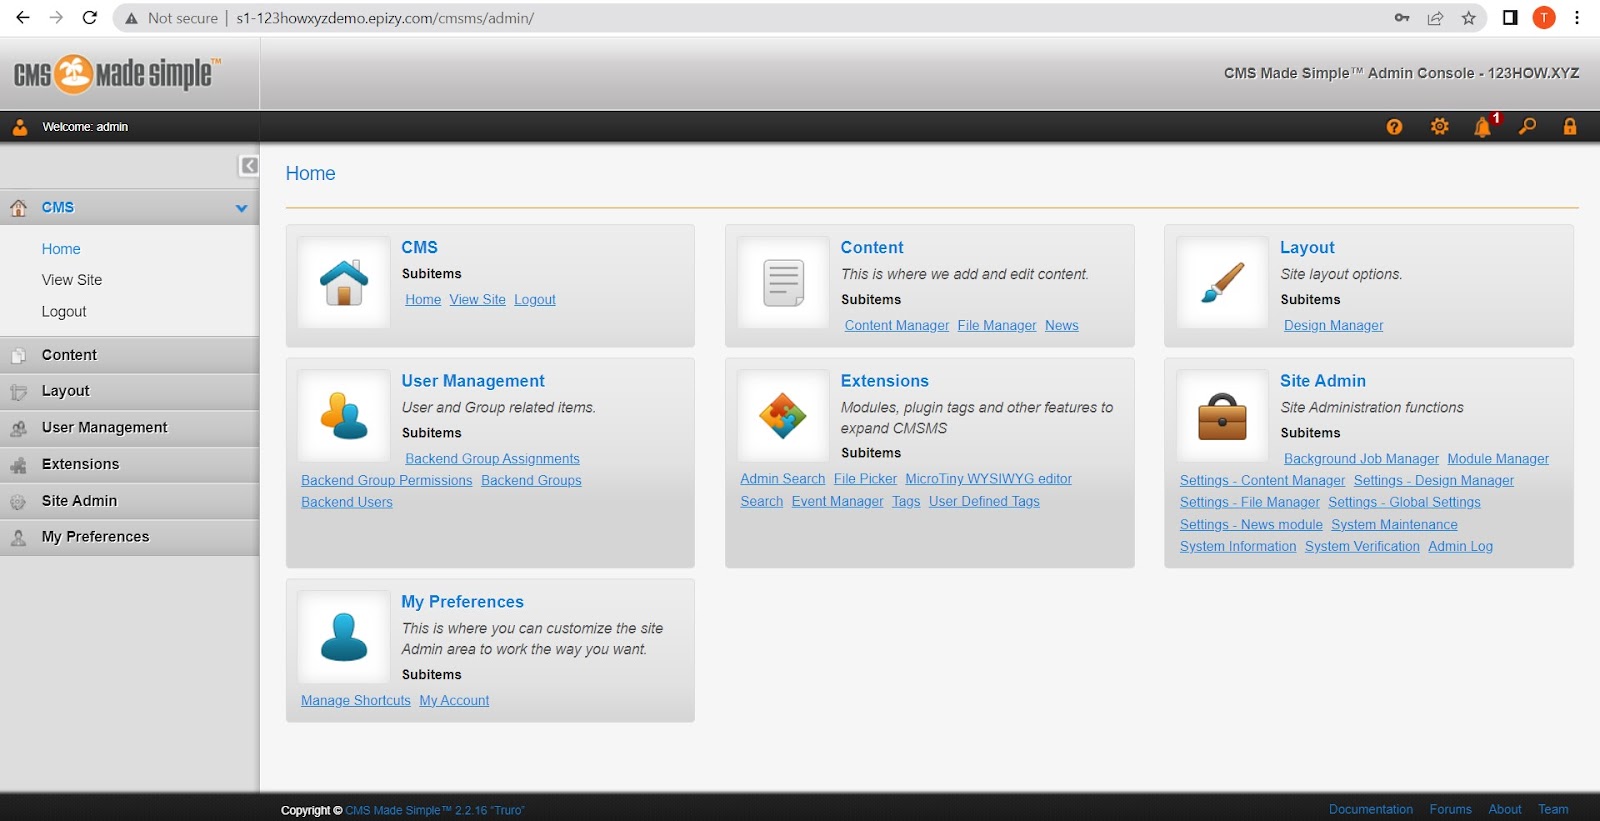
3. Below is an example of CMS Made Simple administration account page.
Thank you for reading this tutorial. I do hope that it helped you and you've learned a lot while doing this. If you have a question, just leave a comment below. Cheers!


0 Comments
Please comment according to the post topic. Any links and off-topic comments will not be published. Thanks!